By Natasha Thies
With the holidays just around the corner, a lot of gift givers are somewhat at a loss as to what to give their friends and family.
Instead of spending a bunch of money on something that’s going to be stashed into a pile of other somethings, why not make them some delicious and homemade desserts instead? Here are a few suggestions:
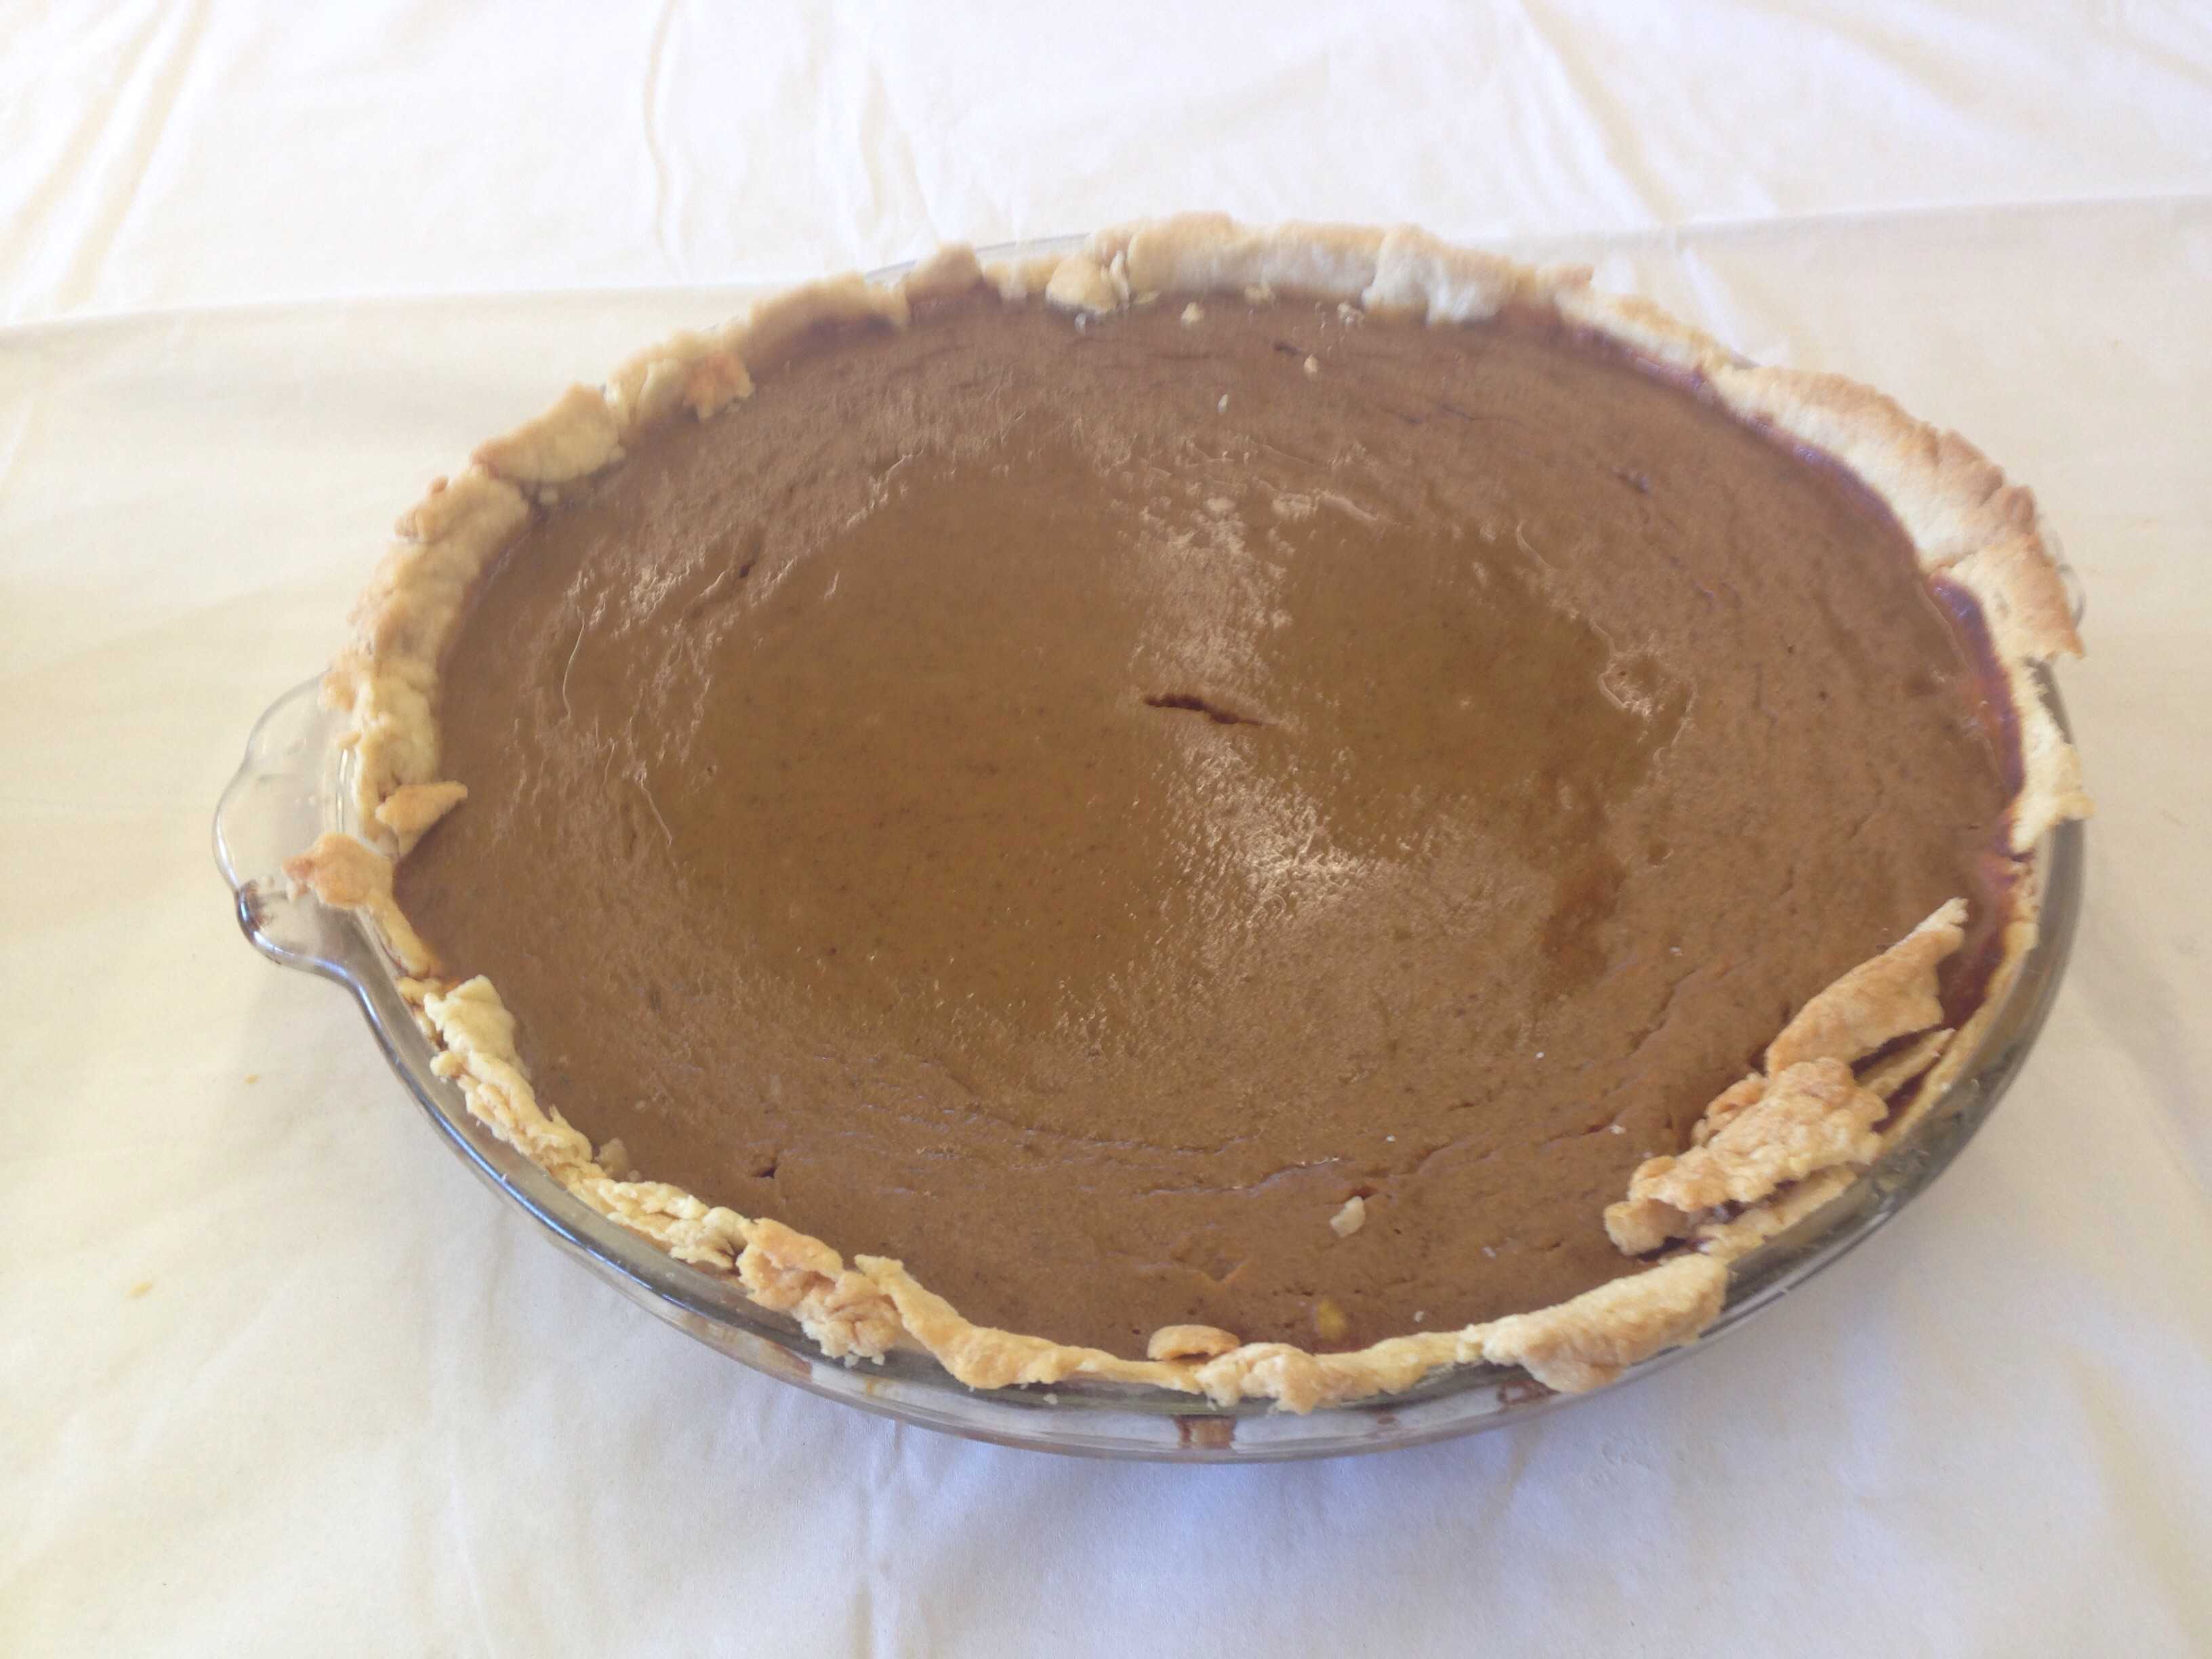
Pumpkin Pie:
Crust:
-
½ cup butter-flavored Crisco
Story continues below advertisement -
1 cup and ½ cup flour (separated)
-
¼ cup cold water
Filling:
-
A can of pumpkin filling
OR
-
A pie pumpkin (sweet/cheese), butternut squash, or even a Jack O’Lantern pumpkin (with 25% more sugar and run through the blender or food processor)
-
1 cup sugar
-
1 ½ teaspoons ground cinnamon
-
1 teaspoon ground cloves
-
1 teaspoon all spice
-
½ teaspoon ground ginger
-
½ teaspoon mace (optional)
-
½ teaspoon vanilla extract
-
½ teaspoon salt
-
4 eggs
-
3 cups sieved, cooked pumpkin
-
1 ½ cans evaporated milk
Step 1:
Place Crisco in a bowl and soften with a wooden spoon. Add ½ cup flour and work it into the Crisco. Add another cup of flour, and work that in with wooden spoon until it looks like pea-sized pieces. After doing so, add cold water, and mix until just smooth. Separate into 2 pieces, and using a floured rolling pin, roll out 2 pieces to cover your pie pan with extra overhang at the edges. Pinch the extra dough at the edges with your fingers.
Step 2:
You can use a can of pie filling. There are 2 different cans, one with spices and one without. Follow baking instructions on the can. Usually you bake until a knife is inserted into the middle and comes out clean.
OR
You could make your own pie filling.
Step 1:
Acquire your pumpkin and wash the exterior in cool or warm water with no soap. Cut the pumpkin in half using a serrated knife. You can use a smooth one if you want to loose a finger or two.
Step 2:
Scoop out the insides, remove all the stringy, dangly bits. A heavy ice cream scoop works best for this, but you can do it just fine with a regular old spoon.
Step 3:
Cook your pumpkin! You can tell the pumpkin is ready when it is soft and easily comes away from the skin. You can use either the stove, oven, or the microwave.
Stove: If you have a steamer pot or a pot with a steamer basket in it, you can use this method. Just cut it to fit and place the pumpkin into the pot, cover and steam for 20-30 minutes.
Oven: Place it cut-side-down on a oven-proof casserole dish with a lid. Pop it in a 350 F oven for 45-90 minutes. It varies so make sure to check it often by sticking a fork in it to see if it is soft.
Microwave: Remove the stem and cut the pumpkin to fit in your microwavable bowl of choice. Put a couple of inches of water in the bowl and cook it on high until it is soft (15 minutes at first and then do 5 minute bursts until ready.)
Step 5:
Scoop out the “guts” with a spoon, if the pumpkin is cooked enough, it should come off easily and in fairly large chunks. Sometimes the skin will just slip right off when you try to pick it up. (If your puree has free-standing water, let it sit for half an hour and then drain the excess water but it being liquid-y is good, the recipe accounts for liquid.)
Step 6:
Blend the puree using a blender, food processor, or hand blender to make sure the consistency is satiny smooth and not grainy because that would make the pie have weird feels.
Step 7:
Preheat the oven to 450 F and mix all the pie filling ingredients together. Pour into pie crusts (you’ll have enough puree for two but it freezes well). Don’t freak out if the pie is runny. It’s supposed to be that way and it firms up nicely in the oven.
Step 8:
Bake the pie at 450 F for the first 15 minutes and then turn the heat down to 350 F and bake for another 45-60 minutes until you can insert a kitchen knife in the middle and it comes out pretty clean. Cool and serve with homemade whipped cream just to be super classy.
Cinnamon Rolls:
4 1/4 to 4 1/2 cups all-purpose flour
1 pkg. active dry yeast
1 1/2 cups milk
1/4 cup granulated sugar
1/4 cup butter
1 tsp. salt
2 eggs
6 Tbsp. softened butter
12 cups packed brown sugar
2 tsp. ground cinnamon
In a large mixing bowl combine 1 1/2 cups of the all-purpose flour and yeast. Heat the milk, granulated sugar, 1/4 cup butter and heat just until the mixture is warm (120 to 130 degrees) and the butter is almost melted, stirring constantly.
Step 2: Add milk mixture to flour mixture, add eggs. Beat with an electric mixer on low speed for 30 seconds, scrape sides of bowl constantly. Beat on high speed for 3 minutes. Using a spoon, stir in as much of the remaining flour as you can. (Dough will be soft). Turn dough out onto lightly floured surface. Knead in enough of the remaining flour to make a moderately soft dough (3-5 minutes total). Shape dough into a ball.
Step 3: Place dough in a lightly greased bowl, turn once. Cover; let rise in a warm place until double (about 1 to 1 1/2 hours) (The dough is ready for shaping when you can lightly and quickly press two fingers 1/2 inch into dough and indentation remains).
Step 4: Punch dough down. On a lightly floured surface divide dough in half; shape each half into a smooth ball. Cover; let rest for 10 minutes.
Step 5: On lightly floured surface roll half the dough to 12 x 8 inches. Spread with 3 tablespoons soft butter. Combine brown sugar and cinnamon; sprinkle half over rectangle. Roll up from a short side. Seal edges. Make a second roll with remaining dough, butter and sugar mixture.
Step 6: Boil 1 stick butter, 1 cup brown sugar and one cup ice cream just until it is melted. Pour into the 13x9x2 baking pan.
Step 7: Slice each dough roll into 8 pieces. Arrange slices, cut-side down in a greased 13x9x2 inch baking pan. Cover, let rise until nearly double in size; about 30 minutes. (I usually have my oven on so the heat will radiate up to the top of the stove top, and aid in the rising of the rolls).
Step 8: Bake rolls in a 350 degree oven for 25 to 30 minutes or until light brown. Invert at once onto a cookie sheet. (It works well to cover the roll pan with a cookie sheet, and turn the whole thing over).
Step 9: Eat and enjoy!!!
Chai Tea Cupcakes
-
1 cup milk
-
2 black tea bags
-
2 chai tea bags
-
½ cup plain yogurt
-
¾ cup sugar
-
¼ cup canola oil
-
1 teaspoon vanilla extract
-
1 cup flour
-
¼ teaspoon baking soda
-
½ teaspoon baking powder
-
2 teaspoons ground cinnamon
-
½ teaspoon ground ginger
-
¼ teaspoon ground cloves
-
½ teaspoon salt
-
1 pinch ground black pepper
Step 1:
Preheat the oven to 350 F. Grease a 12 cup muffin pan or line with paper baking cups.
Step 2:
Heat the milk in a saucepan until almost boiling. Remove from the heat and add the black and chai tea bags. Cover and let stand for 10 minutes. Wring out the tea bags into milk and discard bags.
Step 3:
In a medium bowl, whisk together the tea-milk, yogurt, sugar, oil, and vanilla. In a large bowl stir together the flour, baking powder, baking soda, cinnamon, ginger, cloves, salt,and pepper. Pour wet ingredients into the dry mixture and stir until blended.
Step 4:
Spoon the batter into the prepared cups, dividing it evenly. Bake in the preheated oven until the tops spring back when lightly pressed (about 20 to 25 minutes.) Cool in pan over a wire rack. Wait until completely cooled and frost with frosting of your choice.
Nutella Cookies:
-
2 cups flour
-
¼ cup cocoa powder
-
½ teaspoon baking soda
-
½ teaspoon salt
-
1 stick of butter
-
1 ½ cups sugar
-
2 eggs
-
1 cup Nutella
-
1 teaspoon vanilla
Step 1:
In a small bowl, whisk together the flour, cocoa powder, baking soda, and salt. Set aside.
Step 2:
Mix butter and sugar until creamy.
Step 3:
Add eggs one at a time. Add vanilla and Nutella and beat until mixed. Beat flour mixture into it. Cover bowl and chill for at least 4 hours.
Step 4:
Preheat oven to 350 F. Scoop the dough by 2 tablespoons-full onto greased cookie sheet. Bake cookies for 15 minutes and cool on a cooling rack.
Eggnog
-
4 cups milk
-
5 whole cloves
-
½ teaspoon vanilla extract
-
1 teaspoon ground cinnamon
-
12 egg yolks
-
1 ½ cups sugar
-
4 cups light cream
-
2 teaspoons vanilla extract
-
½ teaspoon ground nutmeg
Step 1:
Combine milk, cloves, ½ teaspoon vanilla extract, and cinnamon. In a saucepan, heat over lowest heat setting for 5 minutes. Slowly bring milk to a boil.
Step 2:
In a large bowl, combine egg yolks and sugar. Whisk hot milk mixture slowly into eggs. Pour mixture into saucepan. Cook over medium heat, stirring constantly for 3 minutes or until thick. Do not allow mixture to boil. Strain to remove cloves and let cool for about an hour.
Step 3:
Stir in cream, 2 teaspoons vanilla extract, and nutmeg. Refrigerate overnight before serving.
Stuffing
-
2 tablespoons butter + 2-3 sticks of butter (melted)
-
1 white onion (chopped).
-
Dried bread
-
2-3 tablespoons poultry seasoning (for a large bowl)
-
Chicken broth
-
Garlic salt (optional)
Step 1:
Melt butter in a skillet and brown chopped onions.
Step 2:
Break dried bread into small squares and add the browned onions. Sprinkle with poultry seasoning. Add chicken broth and the sticks of melted butter. More chicken broth can be used if you don’t wish to use as much butter. Garlic salt may be added, too. Stir until moistened. Stuff inside the turkey cavity, and can also be baked in a casserole dish if there is too much to use in the turkey cavity.
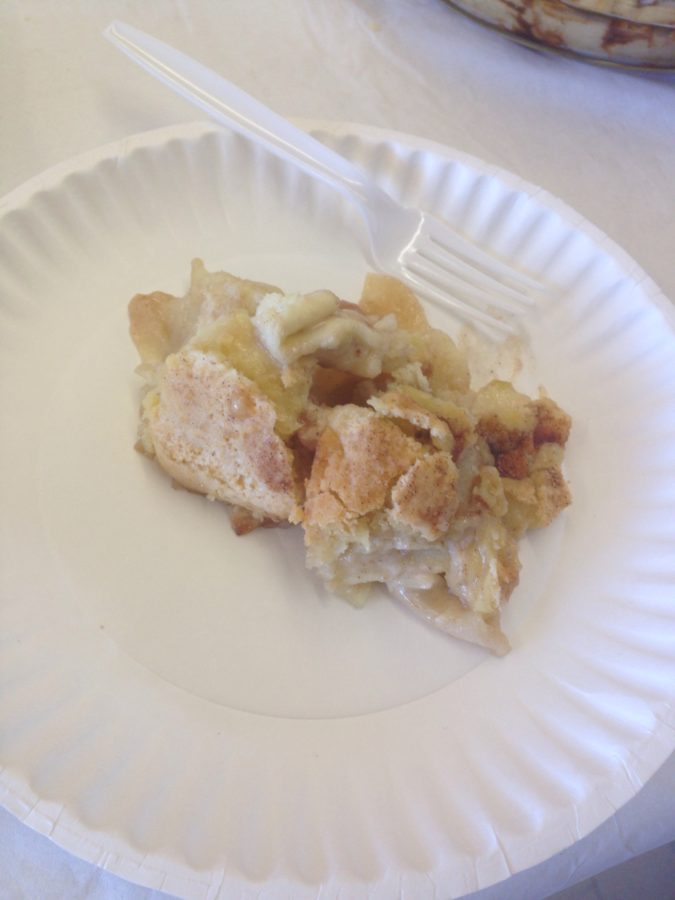
Apple Cobbler

Filling:
-
5 cups tart apples, peeled and sliced
-
¾ cup sugar
-
2 tablespoons flour
-
½ teaspoon cinnamon
-
¼ teaspoon salt
-
1 teaspoon vanilla extract
-
¼ cup water
-
1 tablespoon butter, cut into small pieces
Topping:
-
½ cup flour
-
½ cup sugar
-
½ teaspoon baking powder
-
¼ teaspoon salt
-
2 tablespoons butter, softened
-
1 egg, beaten
-
cinnamon sugar for topping, optional
Step 1:
Heat the oven to 375 F. Butter a 9-inch square baking pan.
Step 2:
Combine the sliced apples, ¾ cup sugar, 2 tablespoons flour, ½ teaspoon cinnamon, ¼ teaspoon salt, vanilla and water. Put into prepared baking pan. Dot apples with pieces of butter.
Step 3:
In a medium mixing bowl, combine the ½ cup flour, ½ cup sugar, baking powder and salt. Add the beaten egg and softened butter and beat until blended. Using a tablespoon, drop batter evenly over the apple mixture. If desired, sprinkle the batter with a cinnamon sugar mixture.
Step 4:
Bake for 35-40 minutes, or until apples are tender and crust is golden brown. Serve warm with cream or a scoop of ice cream.
Hot Chocolate
-
3 cups milk
-
⅓ cup semi-sweet chocolate, grated
-
1 tablespoon sugar
-
½ teaspoon ground cinnamon
-
1 egg
Step 1:
Put milk into a microwave-safe container and cook on High in microwave for 2 minutes. Mix in chocolate, sugar, and cinnamon. In a small bowl, whisk an egg until smooth, then mix it into the chocolate mixture.
Step 2:
Return to microwave and cook on High for 3 to 4 minutes or until foamy (be careful not to let it boil.) Whisk until smooth and pour into 3 mugs. Garnish with a sprinkle of cinnamon if desired.
Gluten-Free Chocolate Chip Cookies
-
¾ cup butter, softened
-
1 ¼ cups packed brown sugar
-
¼ cup white sugar
-
1 teaspoon gluten-free vanilla extract
-
¼ cup egg (or egg substitute)
-
2 ¼ cups gluten-free baking mix
-
1 teaspoon baking soda
-
1 teaspoon baking powder
-
1 teaspoon salt
-
12 ounces semisweet chocolate chips
Step 1:
Preheat oven to 375 degrees F. Prepare a greased baking sheet.
Step 2:
In a medium bowl, cream butter and sugar. Gradually add replacer eggs and vanilla while mixing. Sift together gluten- free flour mix, baking soda, baking powder, and salt. Stir into the butter mixture until blended. Finally, stir in the chocolate chips.
Step 3:
Using a teaspoon, drop cookies 2 inches apart on prepared baking sheet. Bake in preheated oven for 6 to 8 minutes or until light brown. Let cookies cool on baking sheet for 2 minutes before removing to wire racks.
Gluten/Dairy Free Peppermint Patties
-
½ cup coconut oil
-
¼ cup agave nectar or honey
-
½ teaspoon peppermint extract
-
½ -1 cup chocolate chunks
Step 1:
In a small bowl, combine coconut oil, agave and peppermint oil, mixing with a spoon
Step 2:
Smash clumps of coconut oil against side of bowl until mixture is smooth
Step 3:
Freeze mixture for a few minutes until it starts to harden, then remove from freezer
Step 4:
Use a 1.5 teaspoon ice cream scoopto measure out little balls onto a parchment paper
lined plate
Step 5:
Place plate in freezer to firm up mint balls; when firm, remove from freezer
Step 6:
Squish balls down into flat little patties on parchment paper
Step 7:
Melt chocolate over very low heat; allow to cool slightly
Step 8:
Dip patties into melted chocolate (use spoon to drop patty into melted chocolate, dip and remove)
Step 9:
Place patties on parchment paper to harden (takes 10 minutes though on a summer day you may need to refreeze)
Peppermint Bark
-
12 ounces white chocolate
-
12 ounces dark chocolate
-
½ cup crushed peppermint candy
Step 1:
Line a 9×12 pan with parchment paper.
Step 2:
Melt the dark chocolate (use the method you prefer, either double boiler, or microwave – cook 30 seconds in a heat-proof bowl, stir and repeat until you have a smooth consistency.
Step 3:
Pour the melted dark chocolate on the parchment paper, spread the chocolate out until it is about 1/3″ thick. You can do this by hitting the pan on the countertop repeatedly, or maybe you could use a spatula to spread the chocolate.
Step 4:
Melt the white chocolate, using the steps above. After the chocolate is smooth, pour it on top of the dark chocolate – trying to make the layers the same thickness. (it’s best to do this step while the white chocolate is still very soft — I’ve had them separate when I broke them into pieces, I think the layers “stick” together better if the white chocolate has not hardened).
Step 5:
Unwrap the peppermints of your choice and put them into a heavy duty ziplock bag. Using a hammer or meat tenderizer – crush the mints then, while the white chocolate is still melted sprinkle on top.
Step 6:
Let the chocolates harden in the refrigerator for 2 hours, then break the candy into pieces. This needs to be stored in the refrigerator if you live in a warm/humid climate.
Fudge
-
1 1/2 cups granulated sugar
-
2/3 cup (5 fl.-oz. can) Carnation evaporated milk
-
2 Tbsp. butter
-
1/4 teaspoon salt
-
2 cups miniature marshmallows
-
1 1/2 cups (9 oz.) semi-sweet chocolate morsels
-
1/2 cup chopped pecans or walnuts (optional)
-
1 teaspoon vanilla extract
Step 1:
Line an 8-inch-square baking pan with foil.
Step 2:
Combine sugar, evaporated milk, butter and salt in medium, heavy-duty saucepan. Bring to a full rolling boil over medium heat, stirring constantly.
Step 3:
Boil, stirring constantly, for 4 to 5 minutes. Remove from heat.
Step 4:
Stir in marshmallows, morsels, nuts and vanilla extract. Stir vigorously for 1 minute or until marshmallows are melted.
Step 5:
Pour into prepared baking pan; refrigerate for 2 hours or until firm. Lift from pan; remove foil. Cut into 48 pieces.
Peanut Butter Fudge
-
3 cups sugar
-
3/4 cups margarine
-
2/3 cup evaporated milk
-
1 12 ounce pkg. peanut butter chips
-
1 jar marshmallow cream
-
1 tsp. vanilla
Step 1:
Combine sugar, margarine and evaporated milk in a medium sized, heavy saucepan, and bring to a rolling boil, stirring constantly.
Step 2:
Remove from heat and stir in peanut butter chips until melted. Add marshmallow crème and vanilla. Beat until well blended. Pour into greased 9 x 13 pan. Cool. This will set up quickly, so work quickly.
Truffles (Caramel)
-
75ml water
-
2 tablespoons light corn syrup
-
1 1/4 cups sugar
-
1 cup cream
-
0.88 ounces butter, chopped
-
tempered chocolate for coating
Step 1:
Line a container with non-stick baking paper, get a pastry brush and additional water for washing down the sides of the pan and a candy thermometer ready.
Step 2:
Place your sugar, water and glucose syrup into a saucepan and bring to the boil, stirring until the sugar is dissolved.
Step 3:
Once it is dissolved wash down the sides of the pan using a pastry brush dipped in water and then leave it to boil without stirring.
Step 4:
While it is bubbling measure out your cream and butter. Keep a watch on the saucepan and when one spot starts to go golden, stir in the cream and butter, take care not to get burnt by the steam. Keep stirring until it is well combined then let it bubble away unstirred.
Step 5:
Add a candy thermometer to the pan and heat it to 255F (123.89 degrees Celsius). If you don’t have a candy thermometer see video for tips on how to know if it is ready.
Step 6:
Immediately pour it into a lined heatproof container and leave it to semi-cool. Once it s cool enough to handle, is firm but still slightly warm pull it out of the container and cut it into rectangles. Then cool completely.
Step 7:
Drop into your tempered chocolate, decorate with a squiggle of extra chocolate.